
Backyard and DIY
Build your own backyard putting green
Send a photo and a sketch with dimensions. You get a color design and a fixed quote, and the green ships pre-cut for you to lay.

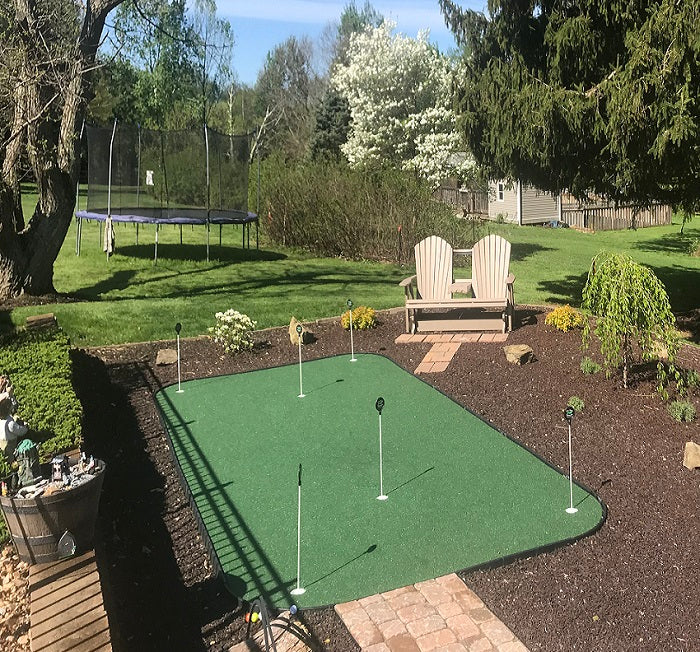
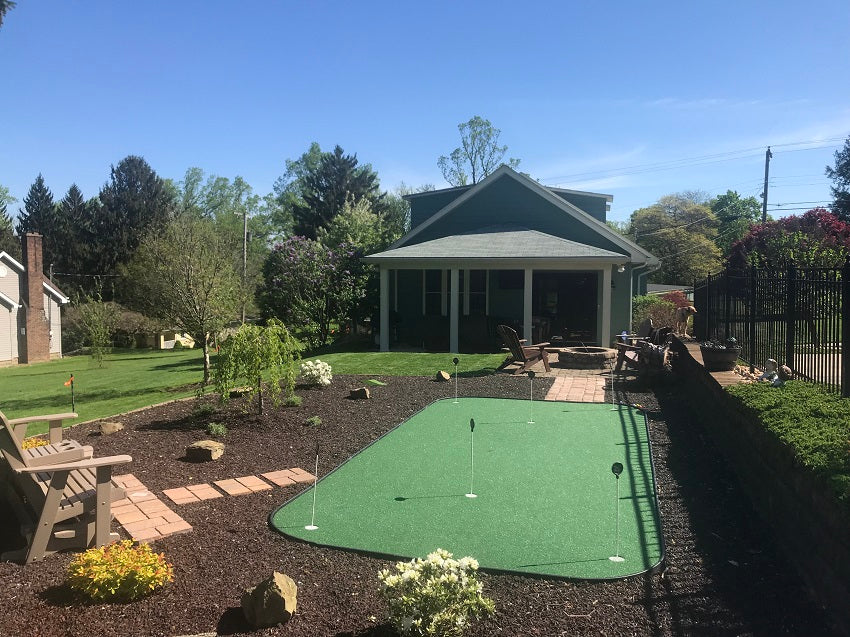
To build a backyard putting green yourself: dig out the area and lay 2 in of fine gravel, compacted level; cover it with geotextile fabric; lock the interlocking base panels together on top; then roll out the putting turf, with the cups already cut, and finish the edge. With a Pro Putt Systems DIY kit, the base panels and turf arrive cut to a drawing of your yard, with a design sheet to lay them out from, so there is no road base to haul in and nothing to cut on site, and the build takes a day or two.
What goes under it
Four layers sit on your own soil. The interlocking panel takes the place of the heavy road base a traditional backyard green needs, so the ground prep is a shallow dig and 2 in of fine gravel. The panel drains, and its prongs hold the turf in place.
| Layer, top to bottom | Thickness |
|---|---|
| TourPutt Ultimate turf, cups pre-cut | 0.5 in |
| UBS Pro base panel | 1.25 in |
| Geotextile fabric | 3 mm |
| Compacted fine gravel | 2 in |

Against a contractor install

A traditional backyard green starts with a dig for 5 in of heavy road gravel under 3 in of fine gravel, often with French drains, and the fringe and chipping areas are cut in on site with specialty equipment. Local installers quote $27 to $30 per sq ft for that work.
A DIY kit skips the road base and the on-site cutting. You get a fixed quote from your drawing, and the labor is a day or two of your own.
A DIY kit generally runs about $18 to $22 per sq ft, plus freight. To size it, multiply the longest width by the longest length. Larger greens with simple, symmetrical shapes come in toward the low end; smaller greens with complex cuts, such as L shapes and oblongs, toward the high end.
What comes in the kit

- UBS Pro base panels, pre-cut and lettered
- TourPutt Ultimate putting turf, pre-cut
- Fringe turf, pre-cut and lettered
- Regulation cup assemblies: a 4.25 in cup, 4.5 in deep
- Geotextile fabric
You supply the fine gravel for a 2 in layer, drainage stone for the cups, 12 in galvanized spikes and ordinary yard tools: rake, shovel, wheelbarrow, post hole digger, utility knife, tape measure, push broom, leaf blower, shop vac, hammer and staple gun. The install guide also recommends a sod cutter and a plate compactor.
How it goes together

Every piece is cut in our shop to your drawing and lettered, so nothing is cut on site. The panels lock together on the gravel into one rigid platform, and rain runs through them. The turf rolls out over the panels in one piece with the cups already cut, and the fringe pieces fit around it in order.
The install guide in the request sheet runs in this order:
- Lay the panels out where the green will go, spray-mark the cup spots through the holes, and mark a line 20 in out from the panel edge all the way around.
- Strip the sod inside the line, 2.5 in deep.
- Spread about 2 in of fine gravel, then rake, water and compact it so the panels will sit about 3/4 in above the ground. Shape any break now, with a slight fall for runoff.
- Set a drained bucket on drainage stone under each cup, its rim level with the gravel.
- Pin the fabric down, lock the panels together row by row, set the cups, and backfill the edge with gravel out to the line, level with the panel tops.
- Roll the turf out 4 in in from the panel edge and lay the fringe pieces in order: they cover that 4 in and the 20 in beyond, a 2 ft collar. Leave it all 24 hours to settle before you fix it.
- Staple the turf and fringe to the panels every 2 ft, and drive a spike every 2 ft around the outer edge of the fringe.
Break and contour

Shape a fine sculpting layer of gravel where you want break, and the panels follow it. Undulation is built into the ground before the panels go down, so the turf reads the contour you made.
Finishing the edge

Four ways to finish a DIY green, fixed with stainless staples and galvanized spikes:
- Back-filled with a paver edge
- A paver forms the green edge
- Back-filled and tapered to the ground around it
- Fringe wrapped over the panel edge and stapled

Care and warranty

- No sand or infill, and the turf takes chip shots
- Rated for −30 °F to 235 °F
- Hose off debris or run a vacuum over it; warm water and dish soap lift a stain
- A leaf blower keeps it clear, and a tarp over it in winter keeps it clean
- Furniture leaves a mark, so keep it off your putting lines
| Part | Warranty |
|---|---|
| TourPutt Ultimate putting turf | 10 years, residential |
| 2 in fringe turf | 10 years, residential |
| UBS Pro base panels | 20 years |
| Cup assemblies | 5 years |
Over concrete, paving or a deck
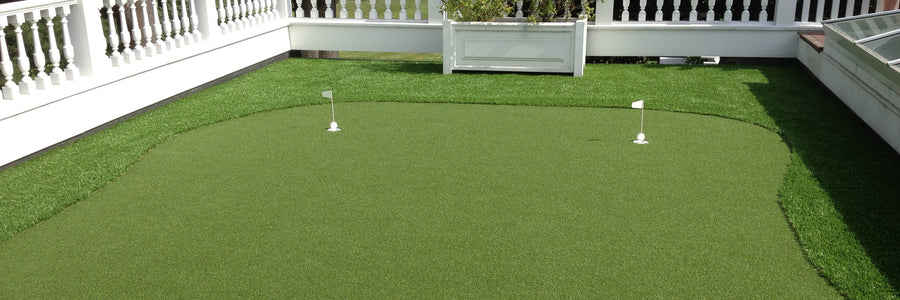
The DIY panel needs ground that drains, such as compacted gravel. On concrete, paving or a deck, choose a standard model instead: its thicker 2 in panel leaves room for the cups. Standard model greens are built for indoor or outdoor use: they drain, they can stay out all year, and the 10-year turf warranty covers outdoor use, on a patio, terrace, deck or poolside.
Resurfacing an old green
An existing sand-filled or worn green usually has a base ready for this system. Resurfacing is often quoted at about $28 per sq ft; our turf goes over the old base with no sand, at a fraction of that.
By the numbers
- Kit, plus freight
- $18 to $22 per sq ft
- UBS Pro base panel
- 1.25 in
- TourPutt Ultimate turf
- 0.5 in
- Fine gravel under it
- 2 in
- Build time
- 1 to 2 days
Talk to a person
844-776-7888How a DIY green reaches you
You sketch the yard
A photo of the area and a sketch with dimensions on our design sheet: download it above, or we send it when you ask.
We talk it through
A short call to check the green will work where you want it.
We design and quote it
A color drawing of your green and a fixed quote to approve.
It ships pre-cut
Pay by card and the green ships as a kit, every piece cut to the drawing.
Tell us about the yard
Yard size, where it is, what you are after and an email are required. The rest helps us quote faster.
What you get back
- A color drawing of your green
- A fixed quote to approve
- A kit that ships pre-cut, every piece cut to the drawing
Building over concrete or paving?
A standard model sits straight on a hard surface, drains, and ships in 6 to 8 days. These four are sized for a patio or a deck.


Turf, strips and chipping pads
Turf for a green you already have, turf by the foot, roll-out strips and the triple surface chipping pad.


